Next in my blog series on D365 CE to D365 BC Integration is a walkthrough of how we start synchronising data between D365 Sales and D365 Business Central.
Now that we have completed the initial Integration with Business Central through the Dataverse Connection Setup and we have also completed the setup for the connection of D365 Sales tables we can now start testing our configuration.
Before we start any of the integrations, we need to ensure all the mappings we have configured and the initial synchronisation job have completed and no errors exist within the deployment. In an ideal world, you would deploy this integration with zero data in either solution, but that won't be case in a real world scenario.
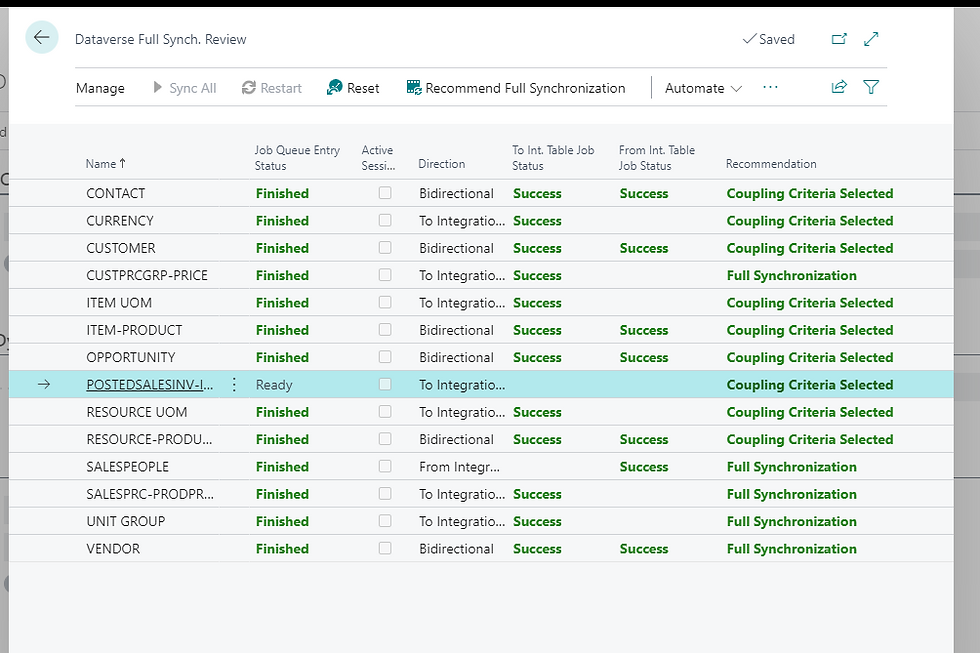
As an actual reminder to how we will process data and see information travel back and forth between the solutions,
So in the standard scenario we would assume that Accounts and Contacts will go back and forth between CE and BC. But things like Users, Currencies, UOM, Items will all be sourced from BC. Quotes could be potentially created in CE and managed in BC and Sales Orders will of course be managed in BC and sent across to CE.

So in our demo I have created the following Lead, which I qualify to turn into an Account, Contact and Opportunity in Dynamics 365 Sales.
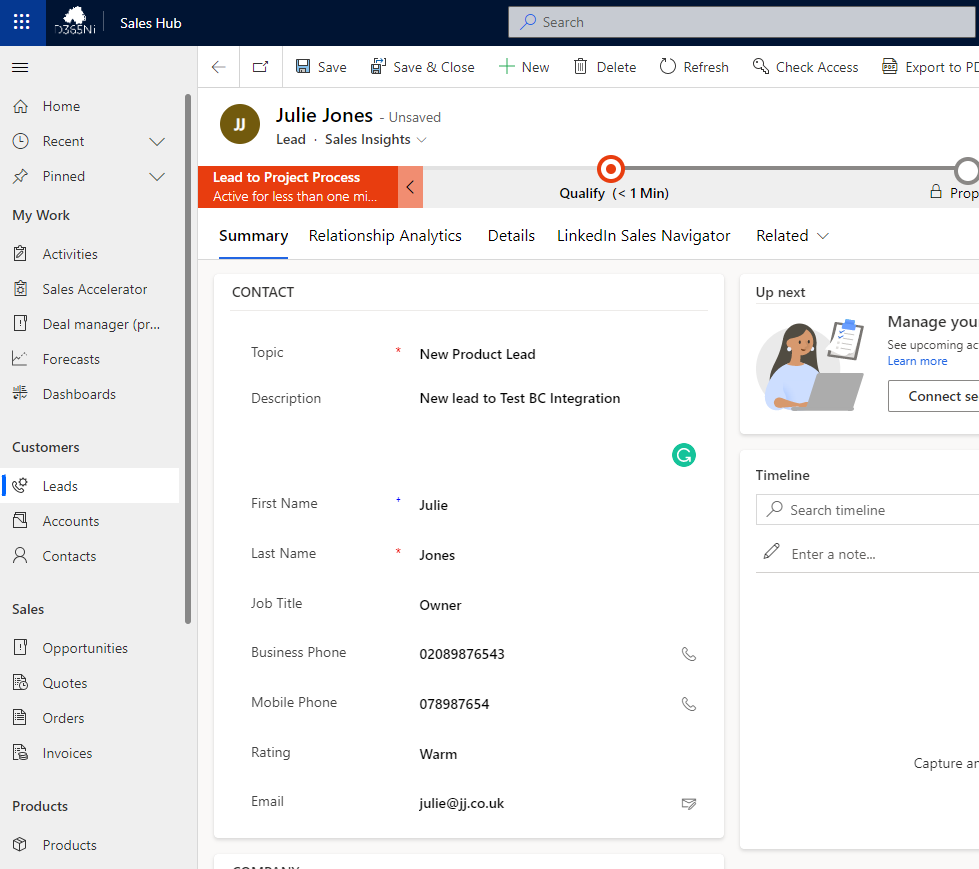
As per our table integration mappings in my previous post, the synchronisation will not kick in until the Account is classified as a Customer under relationship type. Of course, this can be removed or configured to any other field on the Account entity.

On the next scheduled sync, within 30 minutes or by selecting a manual synchronization of all Customers, we will then see the JJ Account, and Julie Jones Contact appearing in Dynamics 365 BC.

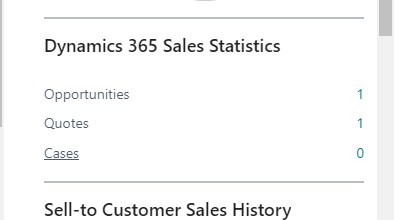
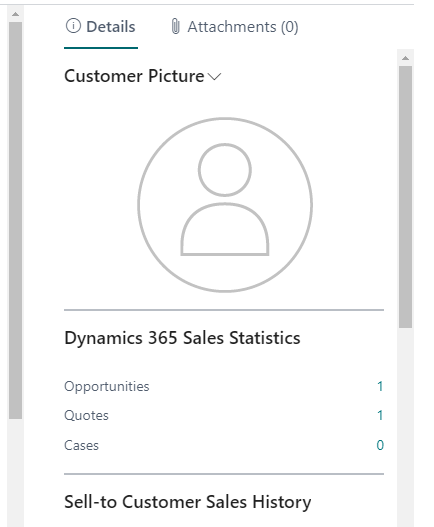
You will also notice we start to see some of the cross application visibility of data. Specifically on the right hand side we "Opportunities 1"
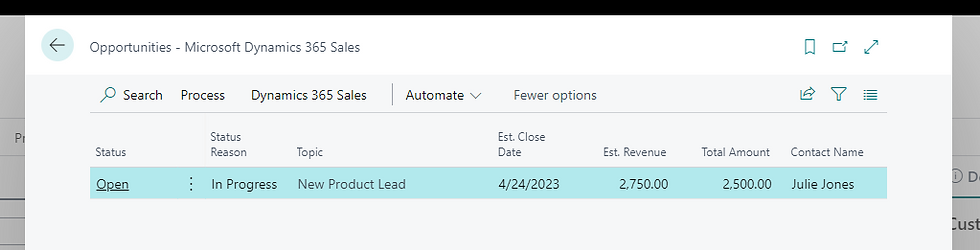
From here, we can go back to Dynamics 365 Sales and manage the opportunity as we would normally.
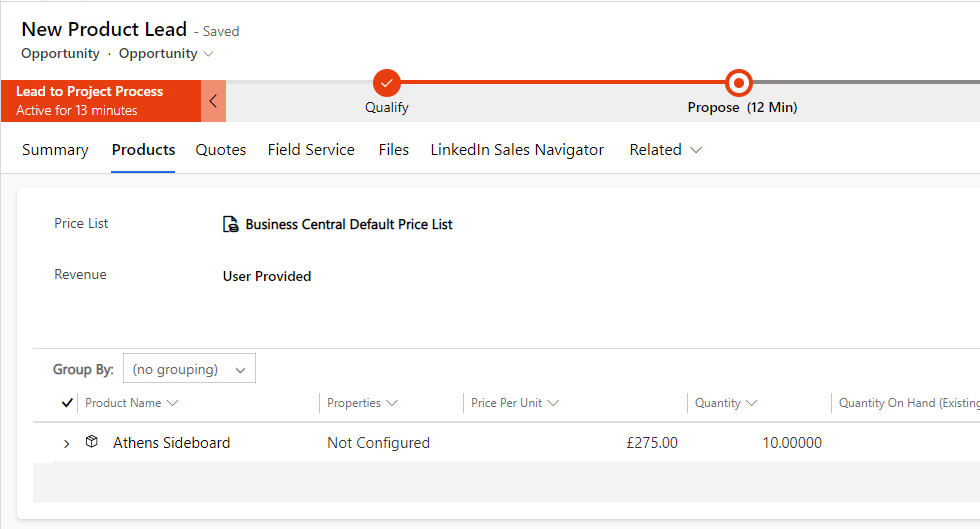
We will add a product to the Opportunity and move to generate a Quote as well. Once the Quote is generated we can now return to Business Central and we will get visibility of the Quote.
From here we can let the integration run automatically and process all Quotes for us. This setting is configured in the D365 Sales Connection Setup. Or we can choose to process Quotes manually.
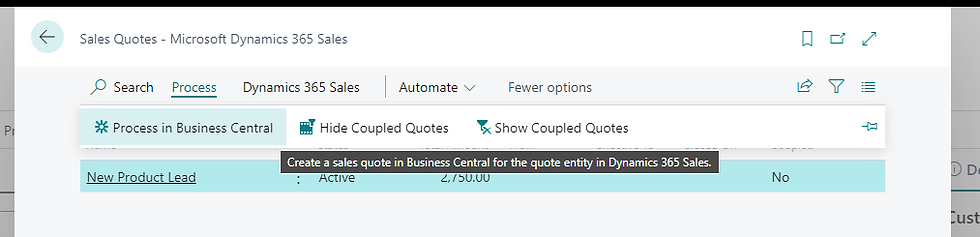
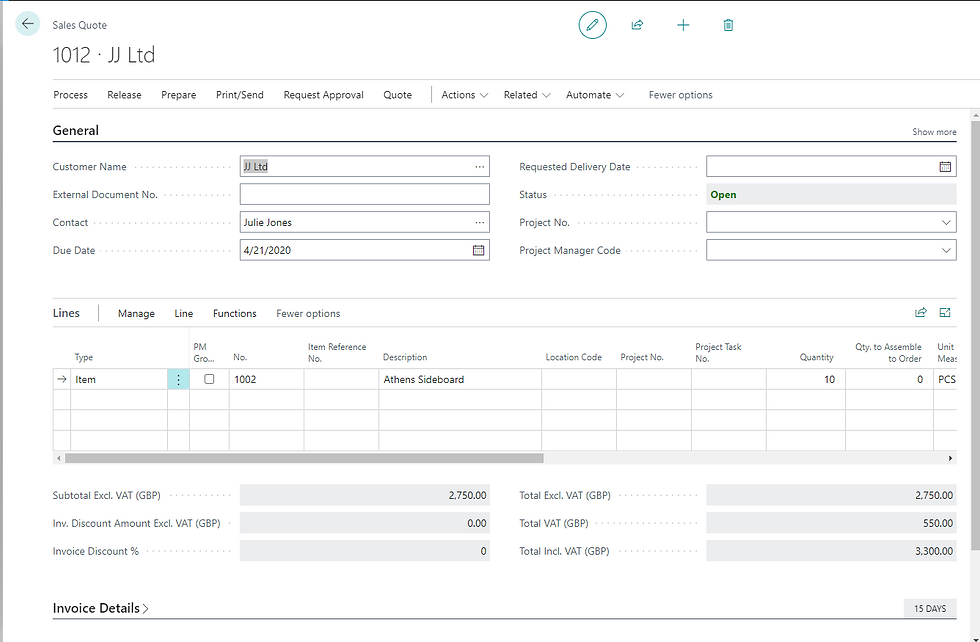
Once processed the Quote is linked to the Customer in BC and will pull across all product information from the Quotation record in Dynamics 365 Sales.
At this point in the sales process, the user will submit the quote to the customer in some way, of course this could have been achieved in Dynamics 365 Sales and only accepted Quotes are then migrated to BC. Regardless of this, BC now takes over the sales process and we will generate an associated Order, followed by a Sales Invoice.

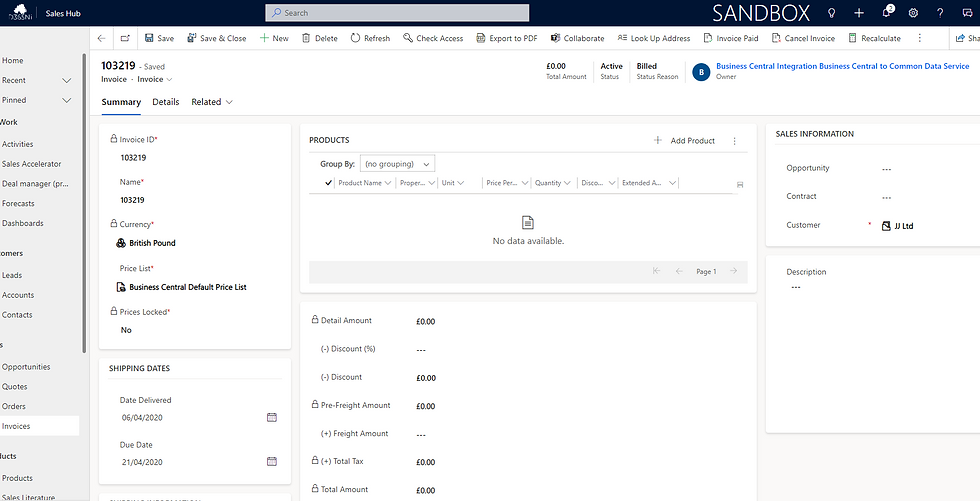
So we have now fully processed, fulfilled and invoiced the customer accordingly, all within Business Central. If we assume the customer then pays the Invoice in full we will have a posted invoice, marked as paid in Business Central and the integration will now pick that record up and send the invoice back to Dynamics 365 Sales.
And this completes the sales process, from initially qualifying a lead and managing an opportunity and quote in Dynamics 365 Sales, before automatically transferring the quotation into Business Central where it was provided to the customer, accepted and from an order and a paid invoice generated.
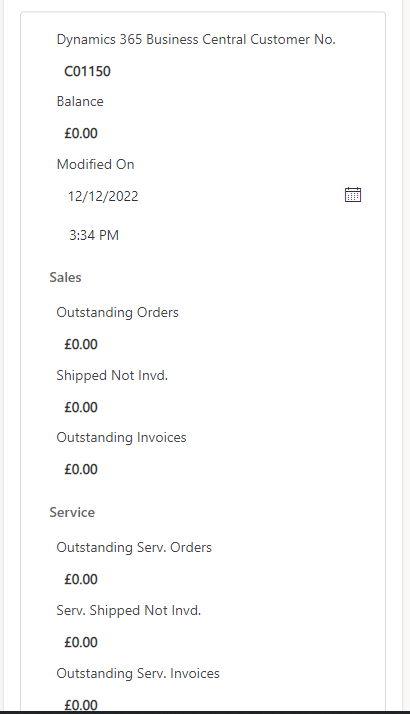
Now we can have look at some of the initial cross application visibility this gives us. Firstly in Business Central, on the customer card we see all sales related records.
And in Dynamics 365 Sales, we have a new form component, which can be edited to only a selection of fields, but by default you get a complete view into the financial data held within Business Central.
I hope you all enjoyed this post on the D365 CE integration to D365BC. I will continue this series with some additional content specifically related to how the integration can be extended to custom entities and custom fields in my next post. Take Care, and Speak Soon!
Comments