Next in my blog series on Power Pages is a walkthrough of specific features which I found very interesting when reviewing the product.
The power of Power Pages is in the ease of building a data-centric site and this couldn't be more visible than with the addition of Multistep forms.
The main advantage this brings to users is the ability to capture data in a more structured and fluid way, whilst also creating a better user experience. The type of scenarios I can see this feature being used most will be in processes such as application submission, registration of details, and many more. Users can now make use of create & edit forms, add attachments, reorder steps and preview steps with the intuitive designer.

To get started let's head over to Power Pages, https://powerpages.microsoft.com/en-gb/ currently it is possible to set up a trial to get hands-on with the product. More information on licensing options will follow in another post.
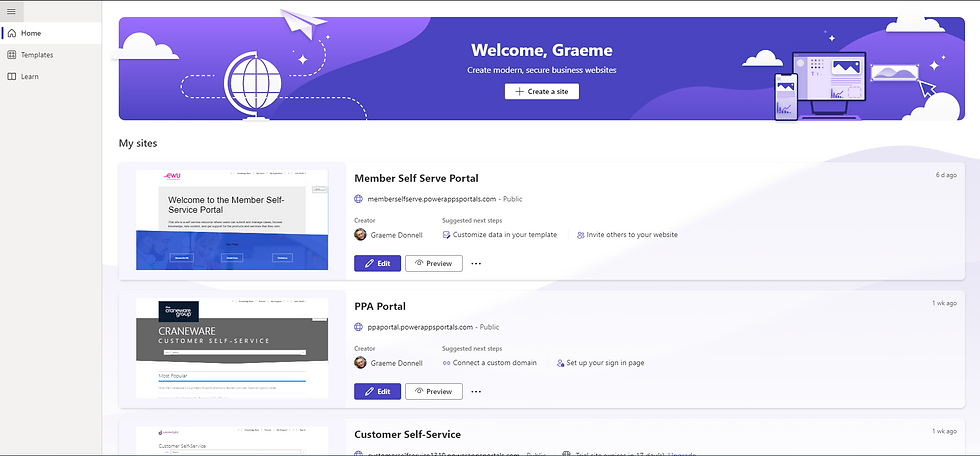
On the welcome screen you are greeted with all the "Portals" you are currently managing and from here you can start to create a new one if you wish as well.
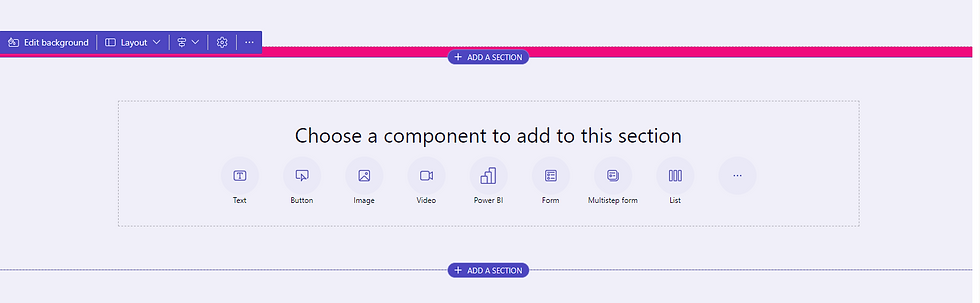
Once you have accessed the site you want to work on, you need to create a page for your multi step form, or select an existing page to add it too. On the page itself, it is best to create a new section for your form and then from the component toolbar, select MultiStep Form
From here you will have the ability to create your new form from scratch or select an existing form you have already been working on. All MultiStep form records are stored within the dataverse and the full configuration of these is available within the Portal Management app.

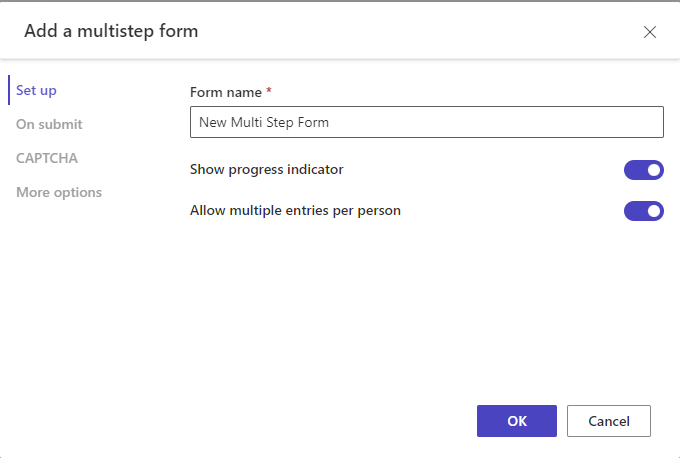
Initially, we give the form a name, and also fill out the additional settings if necessary. So we can configure an On Submit message, choice whether we need a CAPTCHA and some additional formatting options.
And then we are ready to start adding our steps. The form will appear blank initially but if we click on Add Step, the following dialogue appears.

Give the step a meaningful name and choose the entity which will supply the actual form. Bearing in mind, much like the way a dashboard is built in D365, i.e. the charts and views must already exist. The same premise exists here, so any forms who want to pull onto the page, must already exist against the entity with the desired fields published in the order you wish to display them.
For the purposes of this blog, I have already created 4 forms against the Contact entity, Step 1 through 4

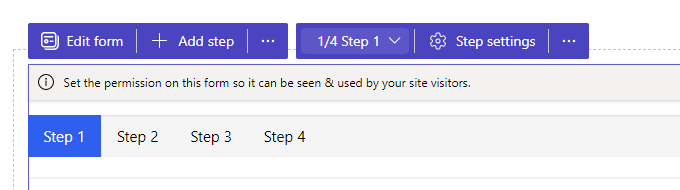
Once all steps have been added and any additional formatting you wish to do is complete, you should have something similar to the below configuration,

My form now consists essentially of 4 pages, which users can move back and forth between. I have the ability to set mandatory fields before moving to the next step.

I can also return to the configuration of my form and the various steps through the floating editor which appears if you hover over the form.

Lastly, if I wish to make additional configuration changes I can access the Portal Management App and from the navigation select Multi-Step Forms

From here we can make configuration changes to the steps within the form, link to additional web pages within our Portal and track user sessions are people engaged and populate our form.

Hope you all enjoyed this post on the Power Pages. The addition of Multi-Step Forms is a major feature improvement of data capture capabilities in Portals. I will continue this series with some additional content related explicitly to Power Pages. Take Care, and Speak Soon!
コメント